Repairs blown head gaskets without dismantling the engine. Results in minutes.
✓Repairs head gaskets without engine dismantling
✓Thermo-bonding seal won't re-melt below 900°C
✓Clear liquid, no abrasive particles
✓Results visible within minutes
Blown Head Gasket Repair
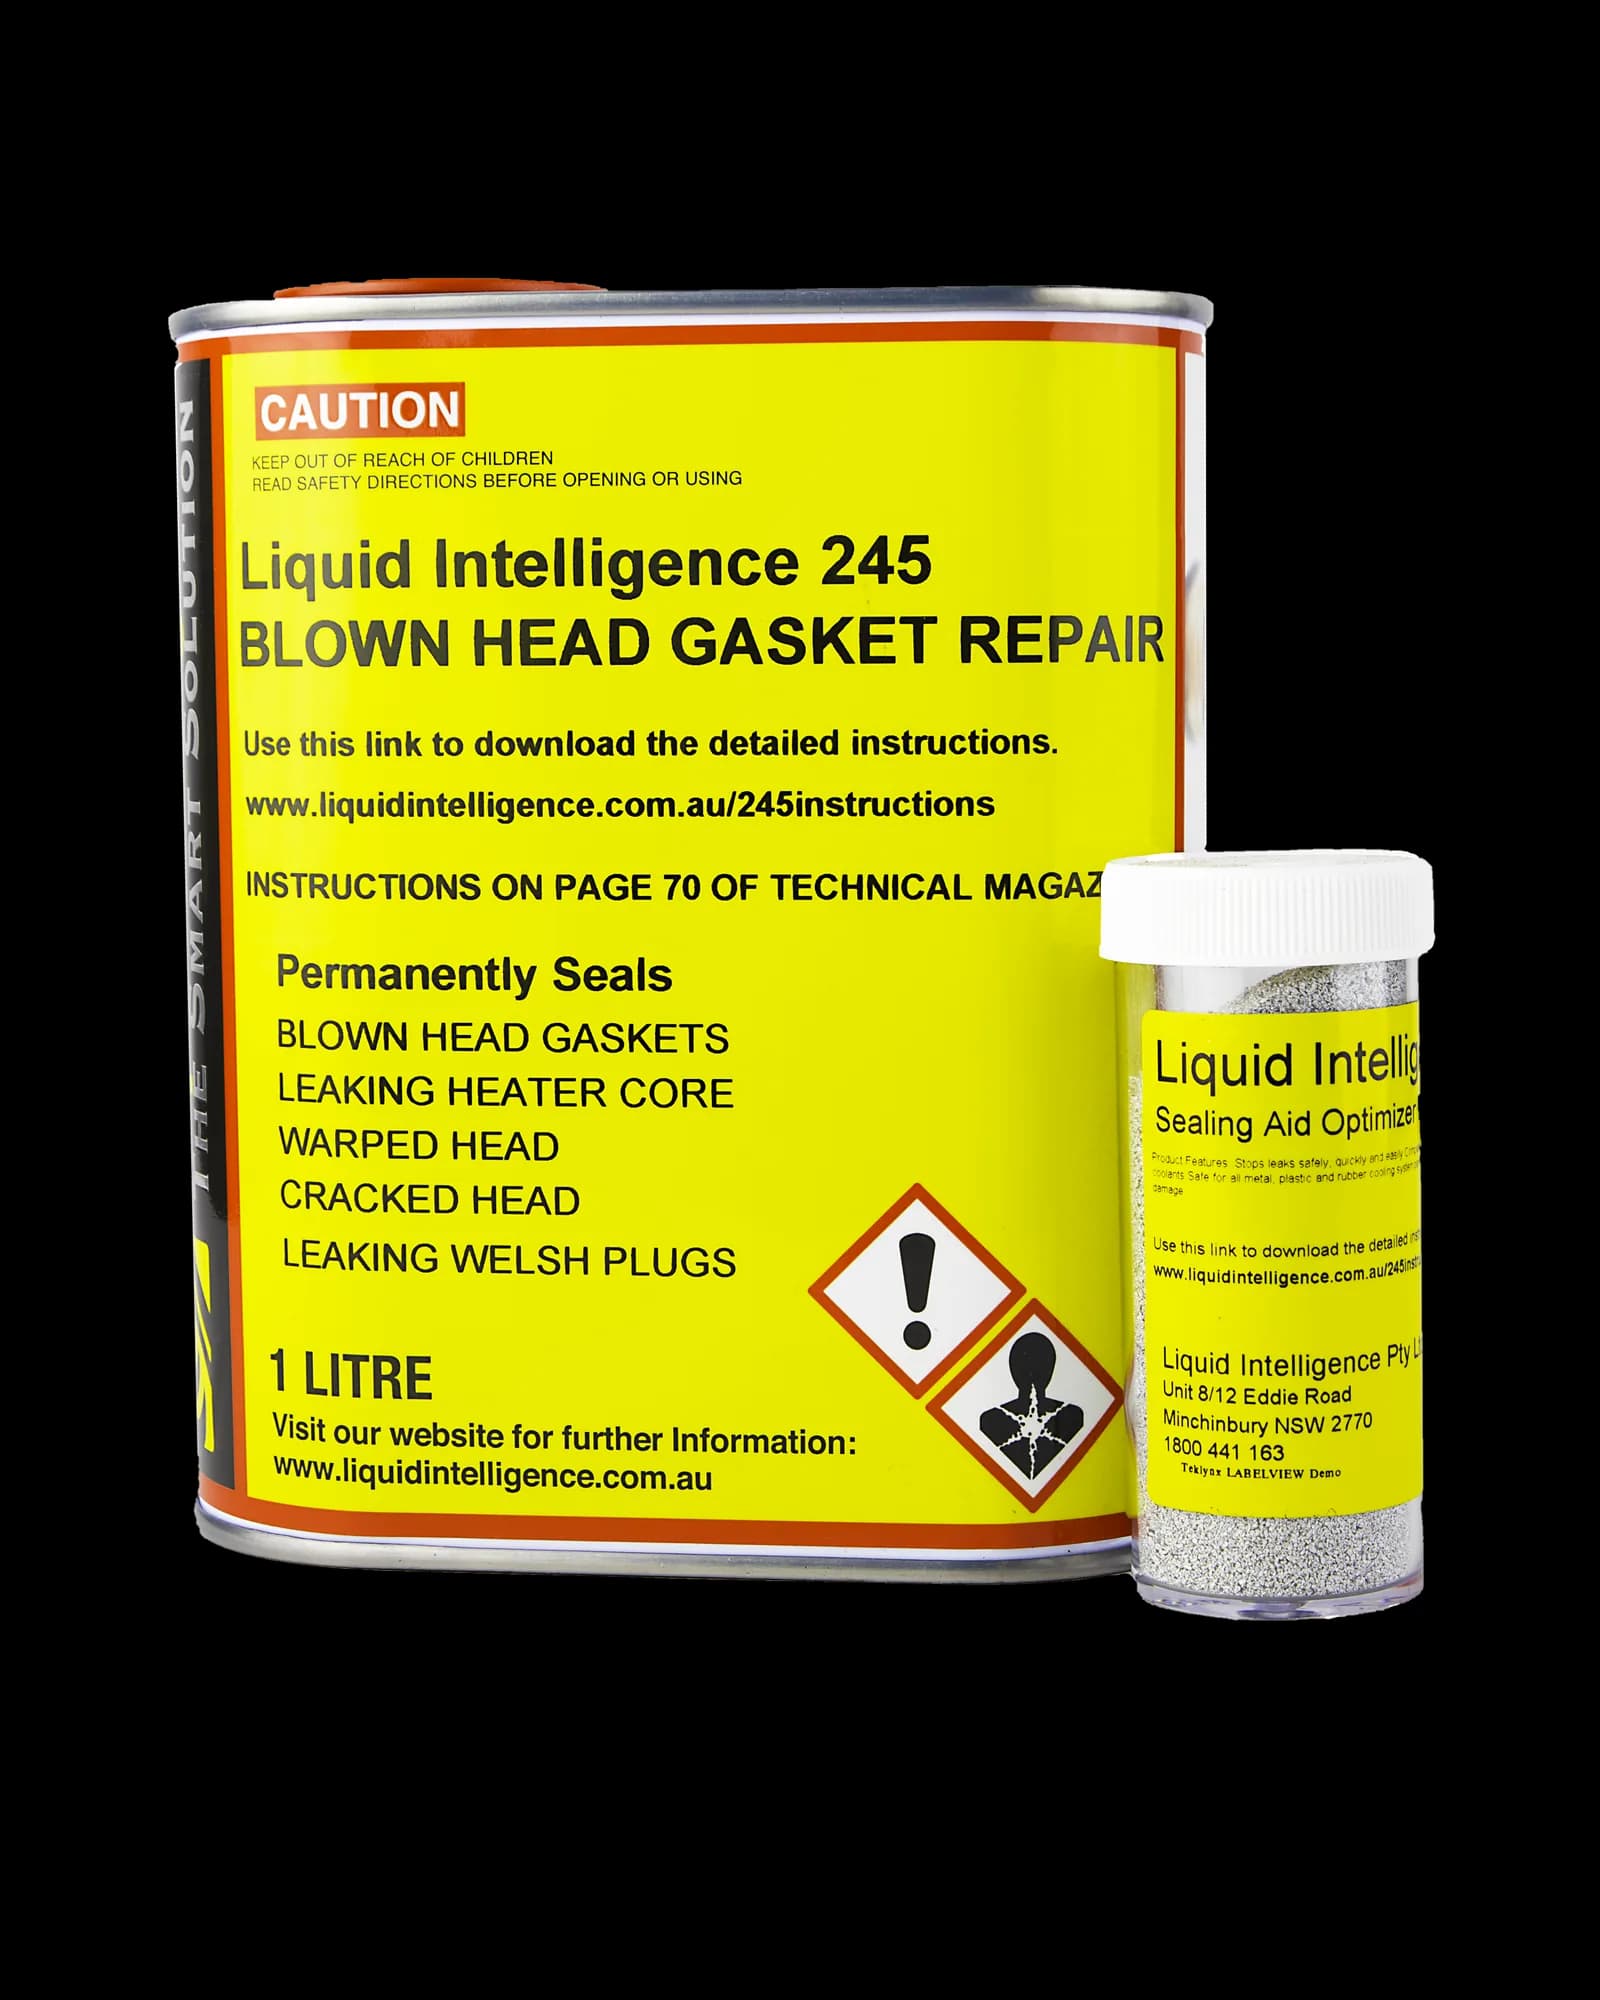
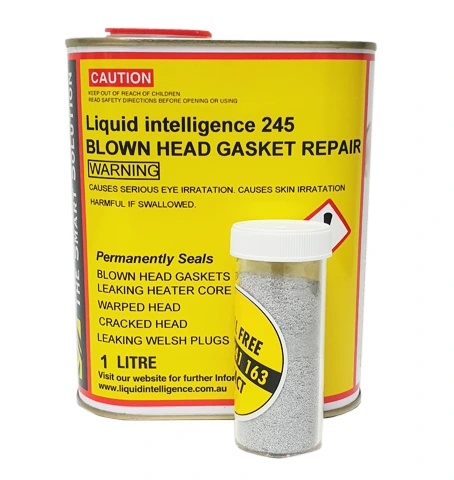
Liquid Intelligence 245 repairs blown head gaskets, cracked heads, warped heads, leaking heater cores and Welsh plugs, without dismantling the engine.
Its unique thermo-bonding formula combines high-temperature polymers with sodium silicate. Above 110°C it loses water molecules on the hot metal surfaces between the damaged gasket and the block, forming a powerful sealant that won't re-melt below 900°C. The seal is semi-flexible, so it moves with the head and doesn't quickly break down with heat and time: a repair can hold for many years.
The bonding happens only where it's hottest, in the tight gap between the head and the block, so 245 is chemically inert to the rest of the cooling system. It's a clear, professional-strength liquid with no copper or other abrasive particles, which can damage an engine.
Results are visible within minutes: steam stops coming out of the exhaust. The size of the breach shows in how hard the radiator water bubbles, and the bigger the breach, the lower the success rate:
Very light: almost 100%Light: almost 100%Medium: 80–90%Vigorous: 60–70%
Signs of a blown head gasket
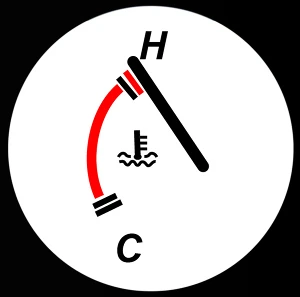
Bubbling in the radiator water is the best-known sign, but it isn't always that obvious. If you have one or more of these, there's a 90% chance it's a blown head gasket:
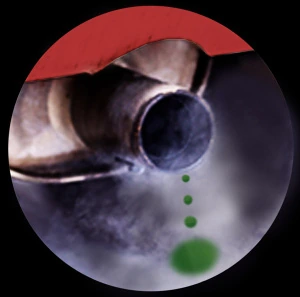
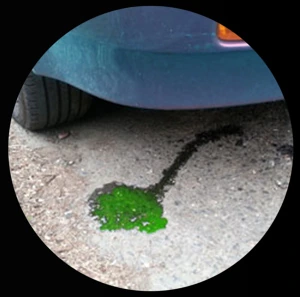
White smoke and steamCoolant out of the exhaustEngine overheatingUnexplained loss of coolantCoolant leaking from under the head gasketLoss of power or rough idlingWater in the engine oilOil in the radiator waterCreamy oil under the oil filler cap
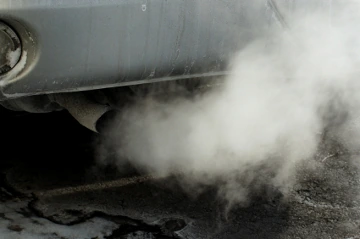
White smoke from the exhaust
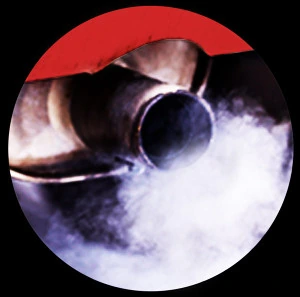
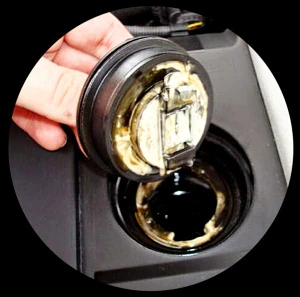
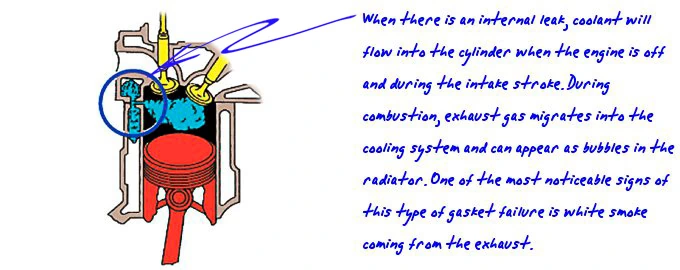
The "smoke" is steam: coolant leaking into the cylinders and out through the exhaust. It often follows a bad overheat, and if it smells of antifreeze it's very likely the head gasket. Check the oil filler cap and dipstick too: yellow or white goo means water is getting into the oil.
Blown head gasket smoke. The white smoke a blown head gasket typically makes.
Loss of power and poor acceleration
Coolant is getting into a cylinder. The spark plugs from the affected cylinders will be white and chalky. Don't drive the car until it's fixed: the coolant washes the oil off the cylinder walls and will destroy the rings and damage the walls, which gets expensive fast.
Water in the oil, or oil in the radiator water
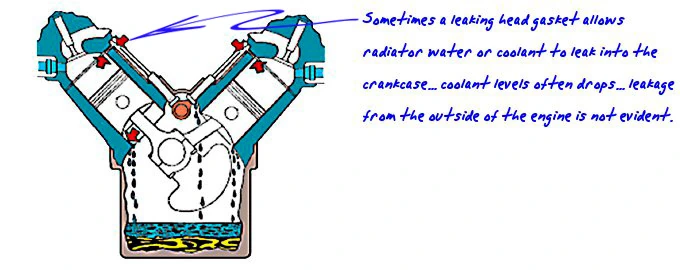
Water in the engine oil most likely means a blown head gasket. So does oil in the radiator water, although a transmission oil cooler built into the radiator can also leak oil into it.


Bubbles in the radiator


A fine leak lets engine compression pressurise the cooling system, and the coolant bubbles in the radiator. How hard it bubbles shows how big the breach is, and the instructions explain how to check.
Bubbles in the radiator. What the bubbling from a blown head gasket looks like.
Diagnosing a head gasket isn't always easy. Call us with the symptoms and we can help confirm whether it's the head gasket and whether 245 will fix it.
245 or a mechanical repair?
Fixing a blown head gasket mechanically means taking the cylinder head off. The gasket itself isn't expensive, but around 75% of the bill is labour: typically upwards of $1,200, $4,000 or more on some vehicles, and more again if the head turns out to be corroded or warped. On an older car, that can be more than the car is worth.
So before anyone pulls the engine apart, try 245. It goes into the radiator, needs very little mechanical knowledge, and the work can take as little as two hours, most of it waiting. If it works, the expensive repair isn't needed.
Kia Carnival head gaskets
About 40% of Kia Carnivals sold in Australia between the September 1999 release and 2004 have reportedly suffered head gasket failure that lets water into the cylinders. It's believed to start when the cylinder liners vibrate microscopically in the block, breaking the head gasket's seal. A mechanical repair typically costs $6,000 to $8,000, so many are simply written off.
245's flexible formula can repair this type of damage, and has been used on it extensively. Carnivals present with different symptoms and degrees of damage, so we like to talk it through first: to confirm 245 suits it, and to suggest the method that best fits the damage.
Instructions/How to Use 245
Read all of this before you start. There are three repair methods, and choosing the one that matches the damage is what makes the repair last.
Liquid Intelligence 245 instructions. Peter Maher takes you through using 245.
1. Gauge the damage
With the engine cold, remove the radiator cap. Run the engine up to full operating temperature with the cap off, so the thermostat opens and you have a clear view of the radiator water, and watch for bubbling.
Continuous bubbling means a head gasket breach, usually above a combustion chamber. The more often and the larger the bubbles, the worse the breach: fine, champagne-like bubbles suggest a minor breach, while vigorous, volcanic bubbling means a substantial one.
2. Choose your method
Method 1, small pinhole breaches. Champagne-like or slightly larger bubbles. The vehicle isn't consistently overheating and is drivable in most conditions. Uses 245 and tap water only, and the repair happens during normal driving.
Method 2, small to medium breaches. Champagne to medium bubbles. The vehicle isn't consistently overheating and is drivable in most light traffic. Uses 245 with the Sealing Aid Optimiser, sealed through repeated heat cycles.
Method 3, medium to large breaches. Medium-sized bubbles. The vehicle is consistently overheating and drivable only for short distances. Uses 245 with the Sealing Aid Optimiser, with the breached cylinder isolated first.
Methods 2 and 3 need the Sealing Aid Optimiser (243), which is available as a 245 kit option.
Why the cool-downs matter. While the engine runs, the breached cylinder pressurises the cooling system and pushes liquid away from the breach. When you switch off, vapour pressure and heat drive the water and sealant into the breach instead. The breach is above 100°C, so the water evaporates and leaves the concentrated sealant behind, which the heat and pressure turn into a solid seal.
3. Prepare the cooling system (all methods)
Method 3 only: find the breached cylinder first (see Method 3 below), then come back to this step.
The cooling system must be completely free of glycol (antifreeze/anti-boil coolant), which can stop 245 working properly.
Disconnect the top and bottom radiator hoses and flush water through the expansion bottle, radiator and hoses to remove any remaining coolant. Turn the heater on to empty the heater core, then turn it off so no sealing product can get into the core.
Put a garden hose into the bottom radiator hose to push out any coolant still in the system.
Work out how much 245 you need: 100 mL per litre of total cooling system capacity. A 5 litre system, for example, needs 500 mL.
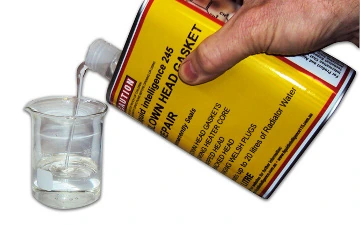
In a clean bucket, mix that amount of 245 with an equal amount of tap water. It goes from thick to thin as it mixes.
Pour this pre-solution into the empty cooling system.
4. Add the Optimiser (methods 2 and 3)
One 100 g tube of Optimiser treats about 10 litres of cooling system capacity.
With the radiator cap off, fill the cooling system from a garden hose while tapping the powder into the stream of water.
Keep filling to full, then refit the radiator cap securely. Top up through the expansion tank if needed and refit that cap too.
No radiator cap, only one on the expansion bottle? Don't add the powder through the expansion bottle, as it may not disperse into the system. Instead, disconnect the top radiator hose from the radiator, leaving it attached to the engine. Hold the hose upright and fill the system through it from a garden hose, tapping the powder into the stream. Reconnect the hose to the radiator as the system nears full, then top up through the expansion bottle.
Method 1: small pinhole breaches
After preparing the cooling system:
Fill the system to full with tap water and refit the radiator cap. Top up through the expansion tank if needed and refit its cap.
Start the engine and idle it up to normal running temperature so the thermostat opens. When the top and bottom radiator hoses feel about the same temperature, the thermostat is open and the 245 has mixed through the system.
Turn the engine off and let it cool for about an hour.
Drive normally for a week to 10 days, watching the radiator closely for bubbling.
With the engine cool, check the radiator for bubbling. None means the breach is very likely sealed. If it's reduced but still there, keep repeating until it stops completely.
Method 2: small to medium breaches
After preparing the cooling system and adding the Optimiser:
Start the engine and idle it up to normal running temperature, the centre of the temperature gauge. Check the thermostat has opened: the top and bottom radiator hoses should feel about the same temperature.
Turn the engine off and let it cool for about an hour. This is when heat and vapour pressure force the sealant and Optimiser particles into the breach, where a partial seal forms and cures.
Repeat this heat cycle six to eight times, cooling for an hour between each one. Every cycle builds a little more seal in the breach.
With the engine cool, remove the radiator cap and check the radiator or expansion bottle for bubbling. None means the breach is very likely sealed. If it's reduced but still there, carry on with more heat cycles until it stops completely.
Method 3: medium to large breaches
First, before preparing the cooling system, find the breached cylinder:
With the engine cold, remove the radiator cap or expansion bottle cap. Run the engine to full operating temperature with the cap off, so the thermostat opens and the bubbling is clearly visible. The thermostat, often on the top hose, can hide it until then.
Stop the engine and remove one spark plug or glow plug. Restart it and check whether the bubbling has stopped.
If it hasn't, refit that plug and try the next one. Repeat until the bubbling stops: that plug's cylinder is the breached one.
Leave that spark plug or glow plug out.
Then, after preparing the cooling system and adding the Optimiser:
Start the engine and idle it up to normal running temperature, around 85°C or the centre of the gauge.
Once the thermostat opens and the solution is circulating, refit the radiator caps securely while the engine is still idling.
Let it idle for another 20 minutes to build vapour pressure, which drives the sealant into the breach.
Let the engine cool, then check the radiator for bubbling. None means the breach is very likely sealed. If it's reduced but still there, repeat until it stops completely.
Finishing the repair (all methods)
Drive as normal and watch for the symptoms coming back for a week or more.
Don't rush to remove the sealing additives. A few weeks of normal driving with no symptoms is the best sign of a lasting repair.
Once you're confident, flush the 245 (and the Optimiser, if you used it) out of the cooling system and refill with coolant.
Which coolant to refill with
Head gasket damage is often blamed on overheating, but it's frequently the result of years running on plain water or low-glycol coolant, which causes cavitation erosion and corrosion that wear through the gasket. There's no way to see the rest of the gasket, so it's common for a second breach to appear soon after the first is fixed.
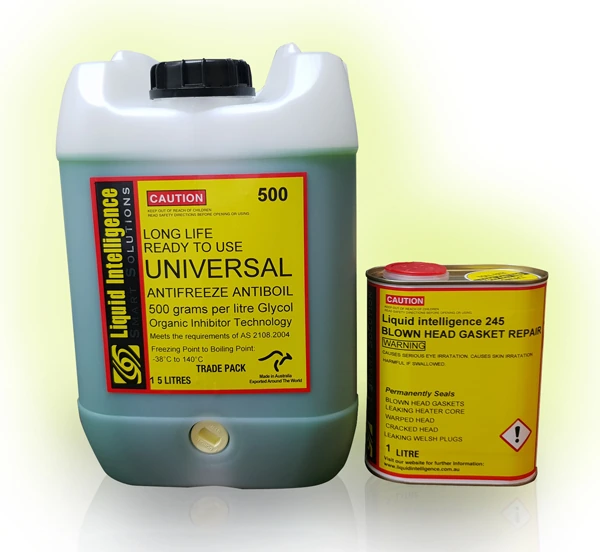
That's why we recommend refilling with Liquid Intelligence 500. It's formulated to eliminate cavitation erosion, which stops other damaged areas of the gasket getting worse and helps the 245 repair last for years. It's also available with 245 as the Repair & Maintain package.
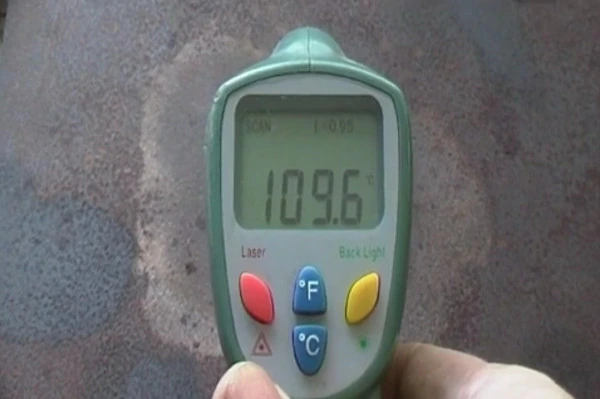
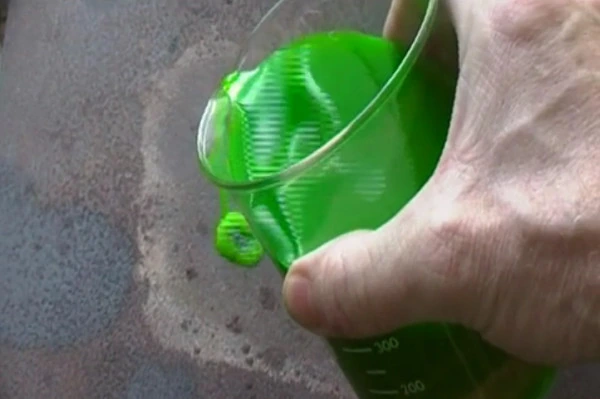
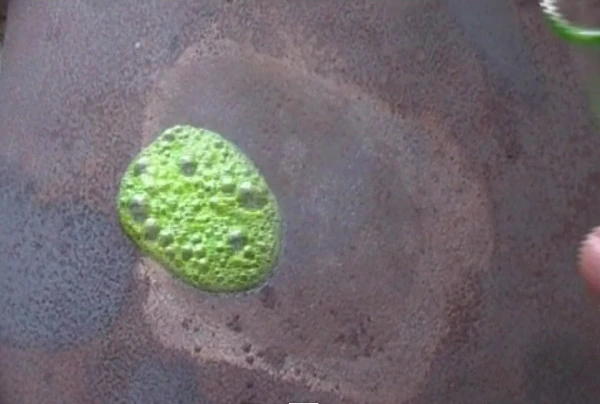
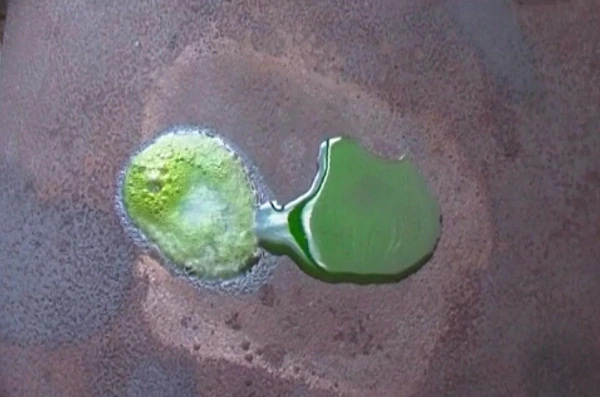
Cheap low-glycol coolants boil on the hot inner walls of the cooling system at just above normal running temperature. The vapour insulates the walls, temperatures climb, and the collapsing bubbles wear the softer metals away. In this hotplate test, ordinary green coolant boils away at just over 100°C; 500's anti-boil additives stop it vaporising:
The hotplate at 109.6°CGreen coolant poured onIt boils just over 100°C500, on the right, doesn't
A customer's repair, start to finish
How to add Liquid Intelligence 245 head gasket repair. A 245 owner's own video, about 50 minutes long: diagnosing the leak, doing the repair and calling our technical support along the way.
Fix a blown head gasket: whiteboard explanation. Peter Maher explains, on a whiteboard, how 245 fixes a blown head gasket.
Delivery
AusPost, Australia-wide from Minchinbury, NSW.
International
AusPost International. New Zealand at checkout; elsewhere, ask us for a quote.
Made here
Formulated and made in Australia.
Support
Free phone help, 7am–7pm, seven days.
✓ Prices in Australian dollars and include GST
✓ Formulated and made in Australia
✓ Free technical phone support before and after purchase
Not sure this is the right fix?
Call and describe the problem. We'll tell you honestly whether this product will solve it, before you spend a cent.
“Well I can say the car is no longer leaking fluid from the rear of the motor”
Read the full story
I would like to thank Peter and the rest of the crew for their amazing products … I have a 1966 Oldsmobile 98 v8 425 engine … well on my wedding day the rear welsh plug between the auto trans and motor started to leak!!!… the car survived the day but it meant pulling the auto .. exhaust ..flex plate etc ..out ..big job …
I have read about this “Liquid Intelligence 245 Blown Head Gasket Repair ” .. stuff and thought I would give it a go … Well I can say the car is no longer leaking fluid from the rear of the motor ….VERY VERY HAPPY! !!!…IT WORKS! !!….. I would recommend this to anyone!!!!!
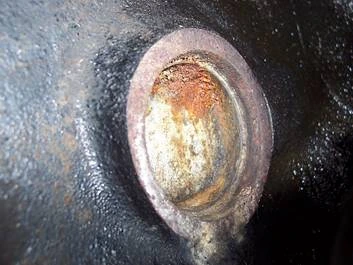
A rusted welch plug in the back of an engine block
He used 245 to seal a leaking rear welsh plug that was otherwise only reachable by removing the transmission.
Gino Musico1966 Oldsmobile 98, V8 425
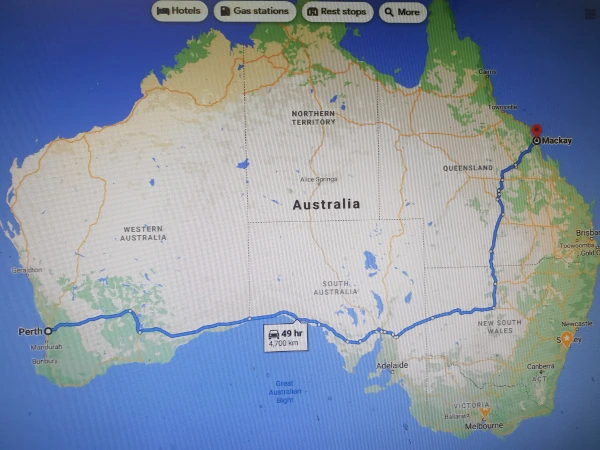
“I have just driven from Toowoomba to Perth, about 5000km, with a fully loaded trailer with zero issues, and no loss of water.”
Read the full story
My Camry had a breach on 2 cylinders, one of which was blowing from the combustion chamber to the outside of the engine. The other from the combustion chamber into the radiator water. They were both big breaches. The mechanic quoted us more than the Camry was worth to fix it.
After using your Liquid Intelligence 245 head gasket fluid, and Liquid Intelligence 243 granular sealer, it sealed completely.
I have just driven from Toowoomba to Perth, about 5000km, with a fully loaded trailer with zero issues, and no loss of water.
Thanks so much for what you do. The car isn’t worth much, but I think you should know that what you have come up with was a big help to me.
He was quoted $1500 to fix two large head gasket breaches and fixed them himself for about $100 using 245 with 243 as a sealing aid.
John Pole30-year-old Toyota Camry
“No more white smoke, no more shaking, no more continuous ‘check engine’ flashing on dashboard.”
Read the full story
Agree, it works!!. A fully blown head casket of our KIA Grand Carnival now fixed with “Liquid Intelligence 245 Blown Head Gasket Repair liquid”.
We have been using the car for over 12 months now. No more white smoke, no more shaking, no more continuous ‘check engine’ flashing on dashboard.
This is truly an amazing solution instead of spending thousands to repair or buying new engine.
Having said the above, its best to look after your car by having regular service or simply do basics checks on water/coolant, oil and filters. Otherwise you will learn the hard way like I did.